
I've watched anglers spend serious money on the wrong carp rod and spend entire sessions fighting their own gear instead of the fish. I've done it myself. The first proper carp rod I bought was a 3.5lb test curve, 12ft fast-taper blank — a rod built for distance casting on big open waters. I was fishing a small, tree-lined club lake with a maximum casting distance of about forty metres. The rod was completely wrong for the venue, and it took me two blank seasons to admit it.
Choosing a carp rod isn't complicated once you understand what the numbers and labels actually mean in practice — not just in theory. This guide goes deep on all of it.
Test Curve: The Number That Defines the Rod
Test curve is the single most important specification on a carp rod, and it's also the most misunderstood. The figure — expressed in pounds, typically ranging from 2.5lb to 4lb — tells you how much force is required to bend the rod tip to a 90-degree angle from the butt. But what it really tells you is the rod's power rating and the lead weight it's designed to cast efficiently.
A rough rule of thumb that's stood the test of time: multiply the test curve by 28 to get the optimal lead weight in grams. A 3lb test curve rod is optimised for leads around 84g. A 3.5lb rod suits leads around 98g. Go significantly heavier than the rod's optimal range and you'll overload the blank; go significantly lighter and you'll underload it, losing both distance and accuracy.
Here's how the test curve range breaks down in practice:
|
Test Curve
|
Optimal Lead
|
Best Suited For
|
|
2.5–2.75 lb
|
60–75g
|
Small lakes, close-range fishing, light rigs, playing fish on light line
|
|
3 lb
|
84g
|
All-round fishing, medium-range venues, balanced sensitivity and power
|
|
3.25 lb
|
90g
|
Larger venues, moderate distance, heavier rigs
|
|
3.5 lb
|
98g
|
Long-range casting, large open waters, heavy leads
|
|
4 lb+
|
112g+
|
Extreme distance, big pit fishing, marker and spod work
|
The 3lb test curve is the most popular all-round choice for good reason — it covers the majority of fishing situations without compromising too much in either direction. But if you're regularly fishing at range on large reservoirs or gravel pits, stepping up to 3.5lb makes a genuine difference to casting performance. Conversely, if most of your fishing is under 50 metres on intimate club waters, a 2.75lb rod will give you a more enjoyable fight and better bite detection.
Rod Length: More Than Just Casting Distance
The default answer to carp rod length is "12ft," and for most anglers on most venues, it's the right answer. But understanding why 12ft became the standard — and when to deviate from it — is worth the time.
10ft rods are underrated. On small, tree-lined lakes where the swim is tight and you're fishing at close range, a 10ft rod is easier to handle, more fun to play fish on, and less likely to clip a branch on the backcast. They're also increasingly popular for margin fishing and stalking — situations where a long rod is a liability rather than an asset. The shorter blank loads more through the whole length when playing a fish, which gives a more cushioned, forgiving fight on lighter lines.
12ft rods are the workhorse of carp fishing. They give you enough leverage for casts up to 80–100 metres with the right lead and technique, work well in most swim configurations, and are the standard length that most bite alarms, rod pods, and bankstick setups are designed around. If you're buying your first carp rod and you're not sure what you need, 12ft is the safe choice.
13ft rods are specialist tools for big-water fishing. The extra foot of blank adds leverage to the cast and allows you to generate more tip speed, which translates to additional distance — typically 10–15 metres over a 12ft rod with the same technique and lead weight. On large gravel pits and reservoirs where fish are regularly feeding at 100 metres or beyond, that extra distance matters. The trade-off is that 13ft rods are less comfortable to fish with at close range and require more space on the bank.
Rod Action: Where the Blank Bends and Why It Matters
Action describes where and how the rod bends under load, and it affects everything from casting distance to how the fish feels during the fight.
Fast (tip) action rods bend primarily in the top third of the blank. They're stiff through the lower two-thirds, which means they store and release energy quickly — ideal for punching leads into a headwind or achieving maximum distance. The downside is that they're less forgiving during the fight. A fast-action rod transmits the fish's movements more directly, which increases the risk of hook pulls on aggressive runs, particularly on shorter hooklinks or with lighter hook patterns. Experienced anglers who fish at range and use heavy leads tend to prefer fast action.
Through (progressive) action rods bend from the tip down through the mid-section and into the butt. They're softer, more forgiving, and distribute the load of a fighting fish across the whole blank rather than concentrating it at the tip. This cushioning effect is particularly valuable when fishing with lighter lines, smaller hooks, or when targeting fish that make sudden, powerful runs close to the net. The trade-off is that through-action rods are generally less efficient for extreme distance casting — the softer blank doesn't generate tip speed as quickly.
Medium action rods — sometimes called progressive-fast — split the difference. The tip loads first, giving you reasonable casting performance, but the mid-section also comes into play during the fight, providing some cushioning. For most anglers fishing at moderate range on mixed venues, medium action is the most practical choice.
One thing worth knowing: the same test curve in different actions will fish very differently. A 3lb through-action rod and a 3lb fast-action rod are not interchangeable tools. The through-action will feel softer and more forgiving; the fast-action will feel stiffer and more powerful. Try both before you commit.
Blank Materials: Carbon, Graphite, and What the Modulus Numbers Mean
Almost all modern carp rods are made from carbon fibre, but not all carbon is equal. The key variable is modulus — a measure of the carbon's stiffness relative to its weight. Higher modulus carbon is stiffer, lighter, and more sensitive, but it's also more brittle. Lower modulus carbon is heavier and more flexible, but more forgiving of impact and misuse.
Budget rods typically use lower-modulus carbon (around 24–30 ton). They're heavier and less sensitive, but durable and forgiving — a reasonable choice for beginners who are still developing their technique and may not yet be treating their gear with the care that expensive blanks require.
Mid-range rods often use 40-ton carbon or a blend of different modulus materials through the blank — higher modulus in the tip for sensitivity, lower modulus in the butt for strength. This is where the best value tends to sit: rods that are noticeably lighter and more sensitive than budget options without the fragility of high-end blanks.
Top-end rods use 50-ton carbon or higher, sometimes combined with materials like Dyneema or Kevlar for impact resistance. They're genuinely exceptional tools — the sensitivity is remarkable, the casting is effortless, and the weight in hand is minimal. They're also expensive and less forgiving of rough handling. A rod leaned against a car door or dropped on a concrete bank can crack a high-modulus blank in a way that a cheaper rod would simply dent.
Guides, Handles, and the Details That Matter
The guides on a carp rod — the rings through which the line passes — are worth paying attention to. Cheap guides with low-quality inserts will groove over time, particularly with braid, and a grooved guide will fray your line. Look for rods with Fuji or equivalent quality guides with SiC (silicon carbide) or Alconite inserts. These are harder, smoother, and will last the life of the rod without causing line damage.
Handle material is partly preference, partly function. Cork handles feel warmer in cold weather, have a natural grip, and are traditional — many experienced carp anglers prefer them for the tactile feedback they provide. EVA foam handles are more durable, easier to clean, and don't deteriorate when wet. Some rods use a combination of both. Neither is objectively better; it comes down to what feels right in your hand.
The reel seat — where the reel attaches — should be solid, with no play or wobble when the reel is locked in. A loose reel seat is a source of vibration and noise that masks bite detection, and it can damage the reel foot over time. Check this before you buy.
Pairing the Rod: Reels, Lines, and Rigs
A carp rod only performs as well as the setup it's part of. A 3.5lb fast-action rod paired with a small-spool reel and 10lb mono will never cast as well as the blank is capable of. Getting the pairing right matters.
Reels. Carp reels — or baitrunner reels as they're often called — need a large spool diameter for efficient line lay and casting distance, a smooth, consistent drag, and a free-spool or baitrunner function that allows a taking fish to pull line without resistance before you strike. For long-range fishing, a reel with a shallow spool loaded with braided line and a mono or fluorocarbon leader is a significant upgrade over mono alone — braid has virtually no stretch, which improves bite detection at distance and makes striking more positive.
Lines. For most carp fishing, monofilament in the 12–15lb range is the standard mainline. It has enough stretch to absorb the shock of a powerful run, casts well, and is forgiving of imperfect knots. Braided line in the 20–30lb range is increasingly used for long-range work — the lack of stretch means you feel everything at distance, and the thinner diameter for equivalent breaking strain allows more line on the spool. A fluorocarbon hooklink or leader adds abrasion resistance near the business end and is virtually invisible in clear water.
Rigs. The carp rigs you use need to complement the rod's action. A stiff, fast-action rod works well with inline leads and tight, low-stretch rigs where the hookset is almost instantaneous. A through-action rod is more forgiving with running lead setups where the fish picks up the bait and moves before feeling resistance. Carp hooks in the size 4–8 range cover most situations — heavier wire patterns for fishing over gravel or in weed, lighter wire for pop-up presentations where the hook needs to turn quickly on the take.
Bank Setup: Alarms, Pods, and Bite Indication
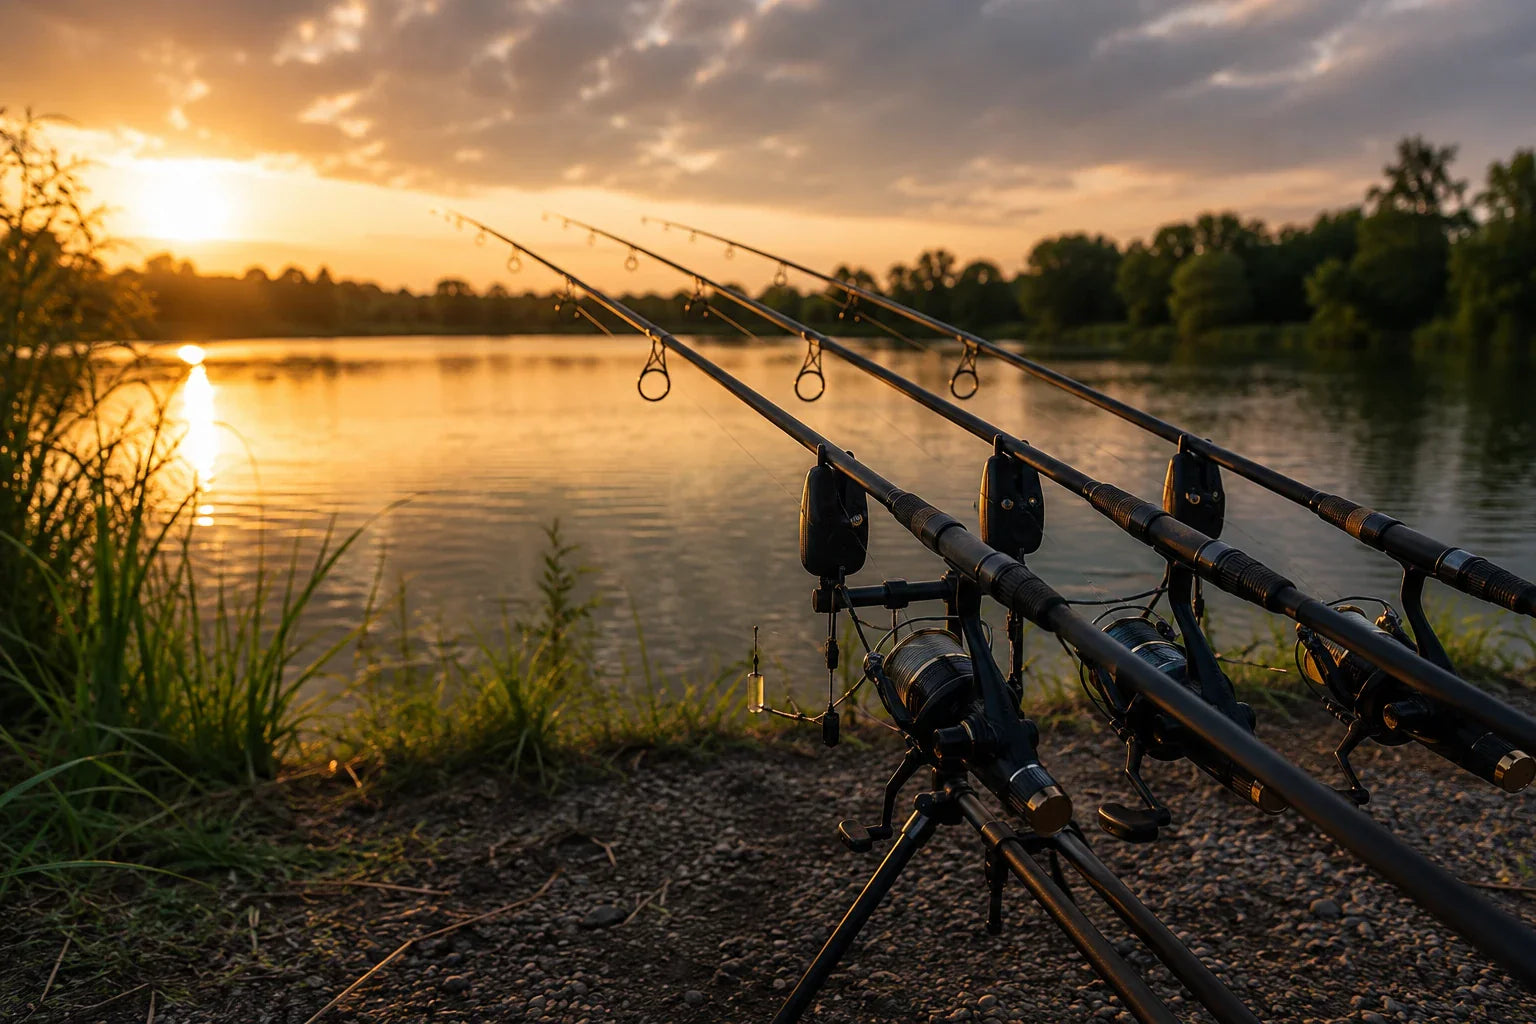
A carp rod sitting on a bankstick with a bite alarm and bobbin is the standard carp fishing setup, and getting the angles right matters more than most beginners realise. The rod should be angled down toward the water at roughly 30–45 degrees, with the line running tight from the rod tip to the lead on the bottom. A slack line between rod and lead means delayed bite indication and missed takes.
Bobbins or swingers hanging from the line between the reel and the first rod ring give you visual indication of line movement — a drop-back (line going slack) or a lift (line tightening). Combined with a good bite alarm, you'll rarely miss a take even when you're not watching the rods.
Which Carp Rod to Buy: A Practical Summary
Rather than recommending specific models, here's the framework I use when advising anyone on a carp rod purchase:
Define your venue first. Small, intimate lake under 50 metres? A 2.75–3lb test curve, 12ft, through-action rod will serve you better than anything heavier. Large gravel pit or reservoir with fish at 80–120 metres? A 3.5lb, 12–13ft, fast or medium-fast action rod is the right tool. Mixed fishing across different venues? A 3lb, 12ft, medium-action rod is the most versatile single rod you can own.
Set a realistic budget and buy the best blank you can afford within it. The blank is the rod — everything else (guides, handle, reel seat) can be upgraded or replaced, but you can't change the carbon once you've bought it. A well-made mid-range rod from a reputable brand will outperform an expensive rod that's wrong for your fishing.