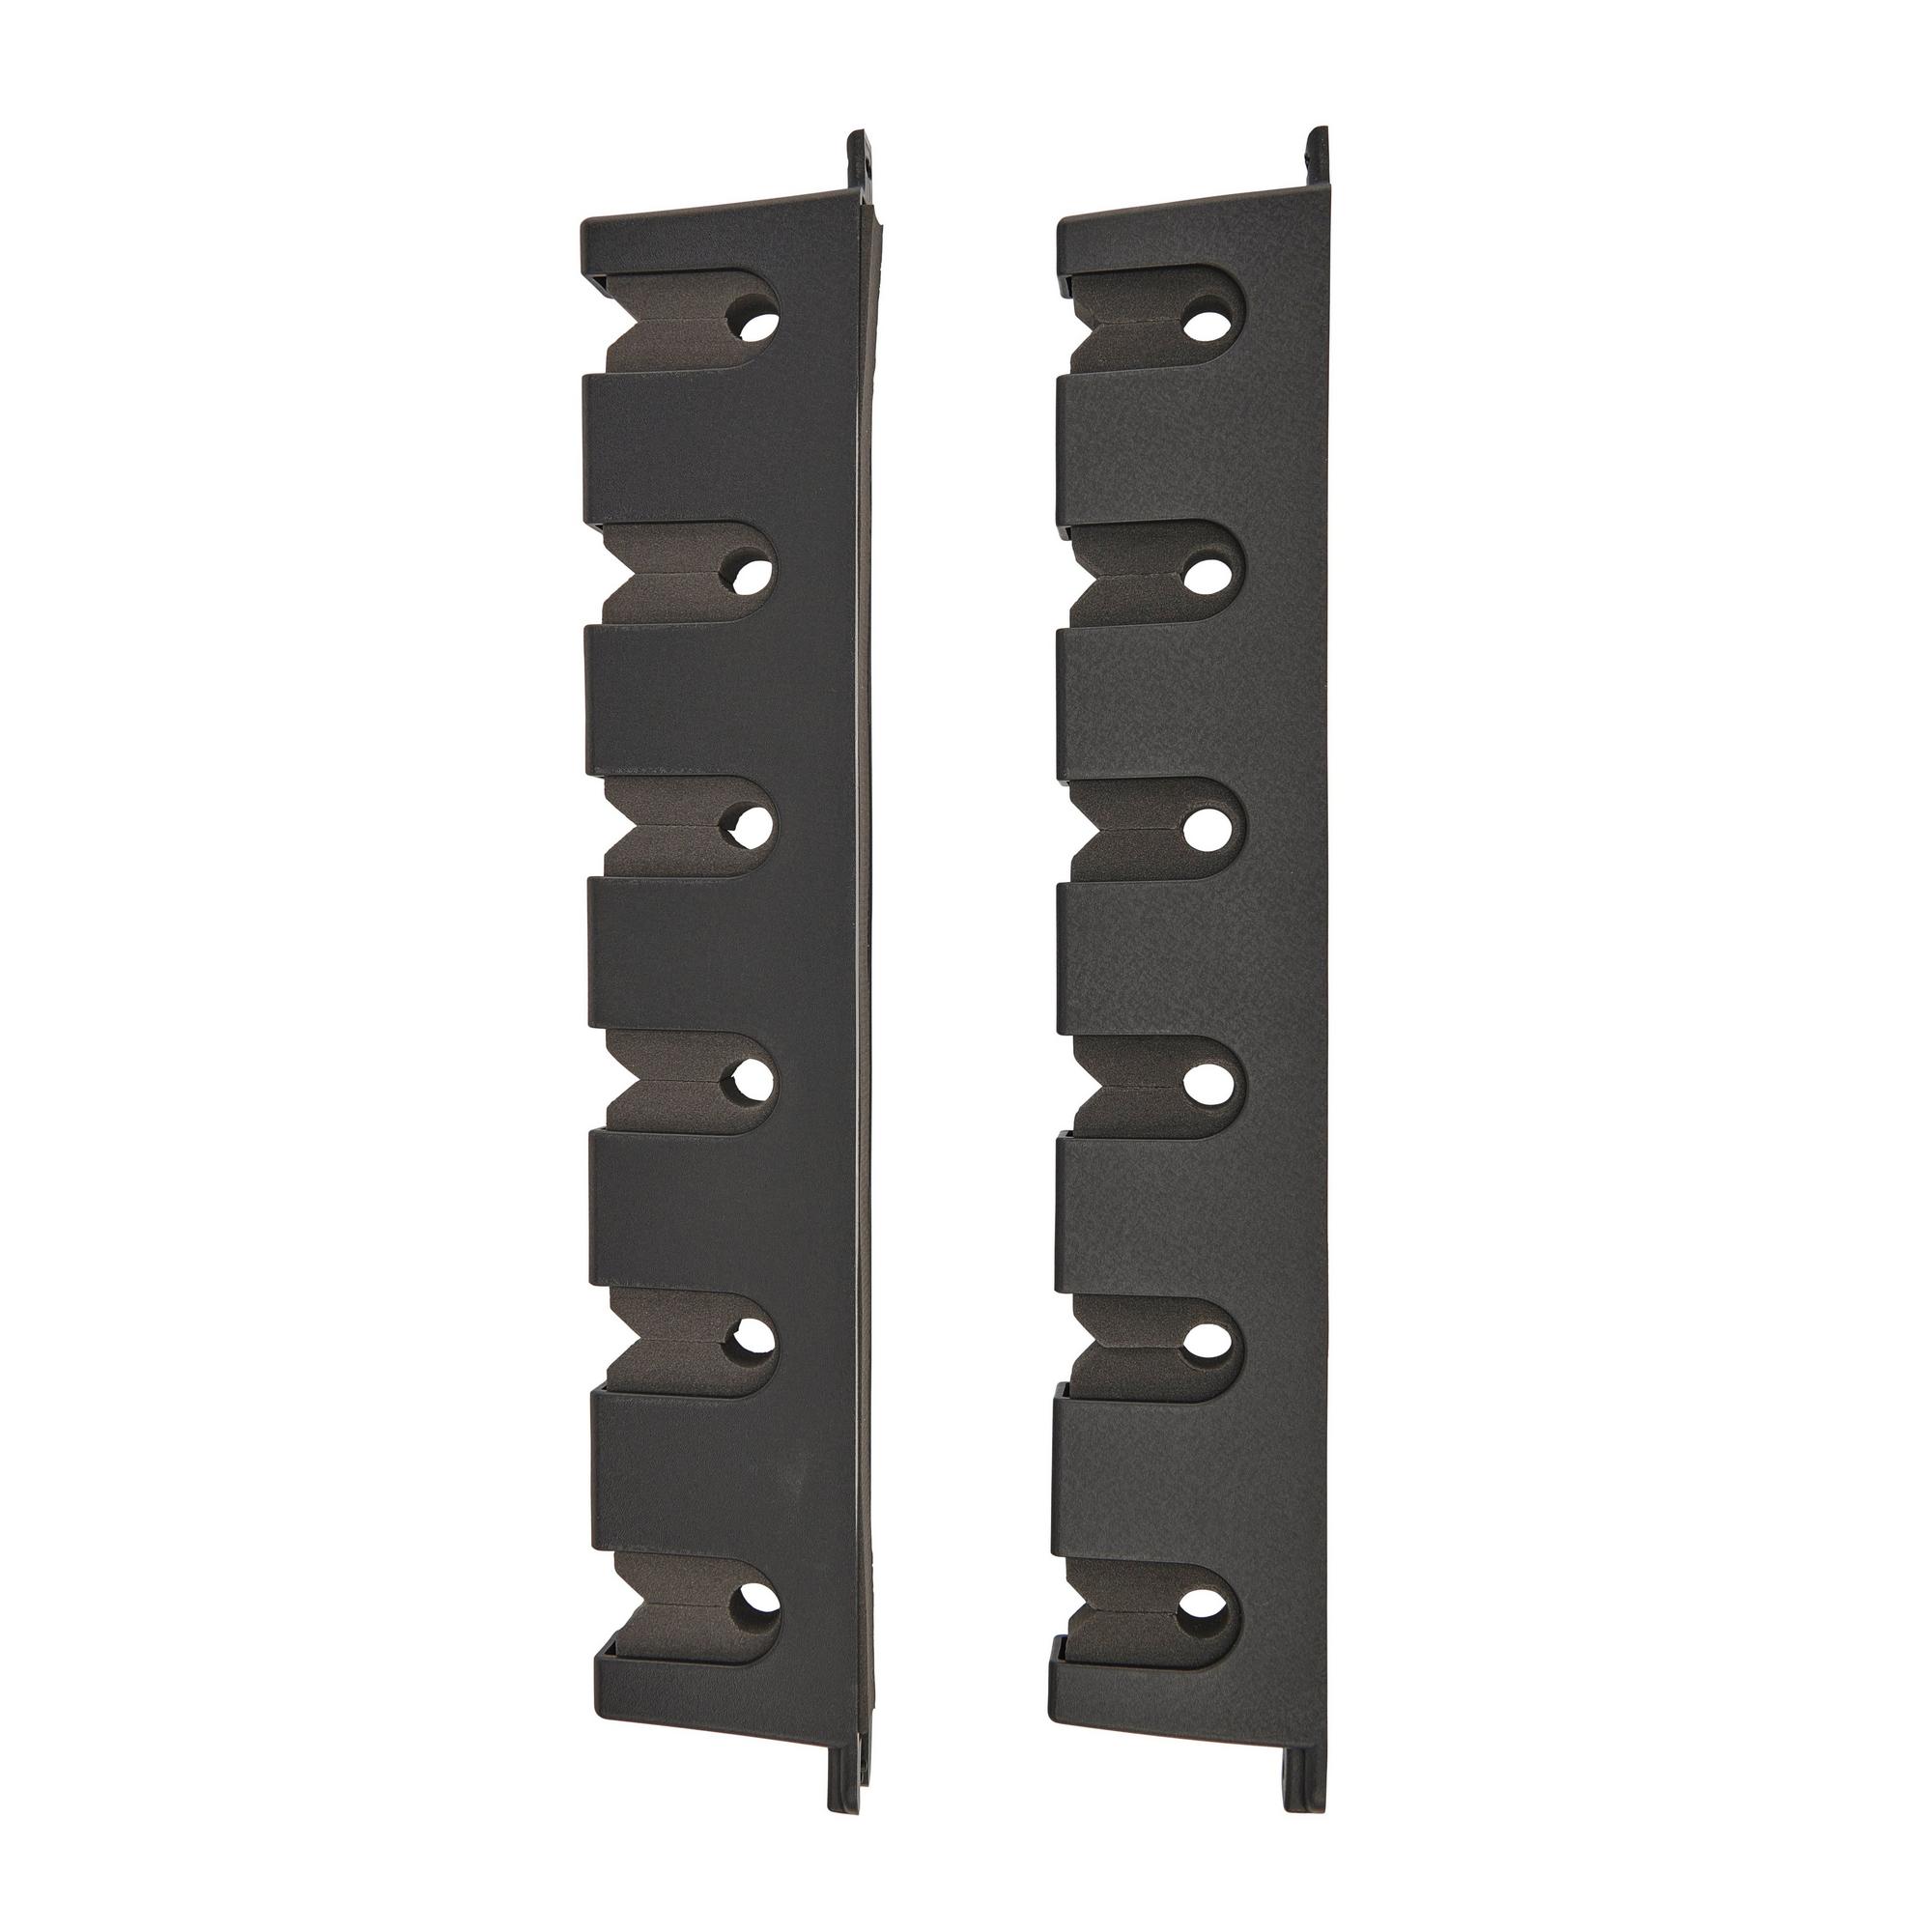
Fishing rod supports for organised bank setups
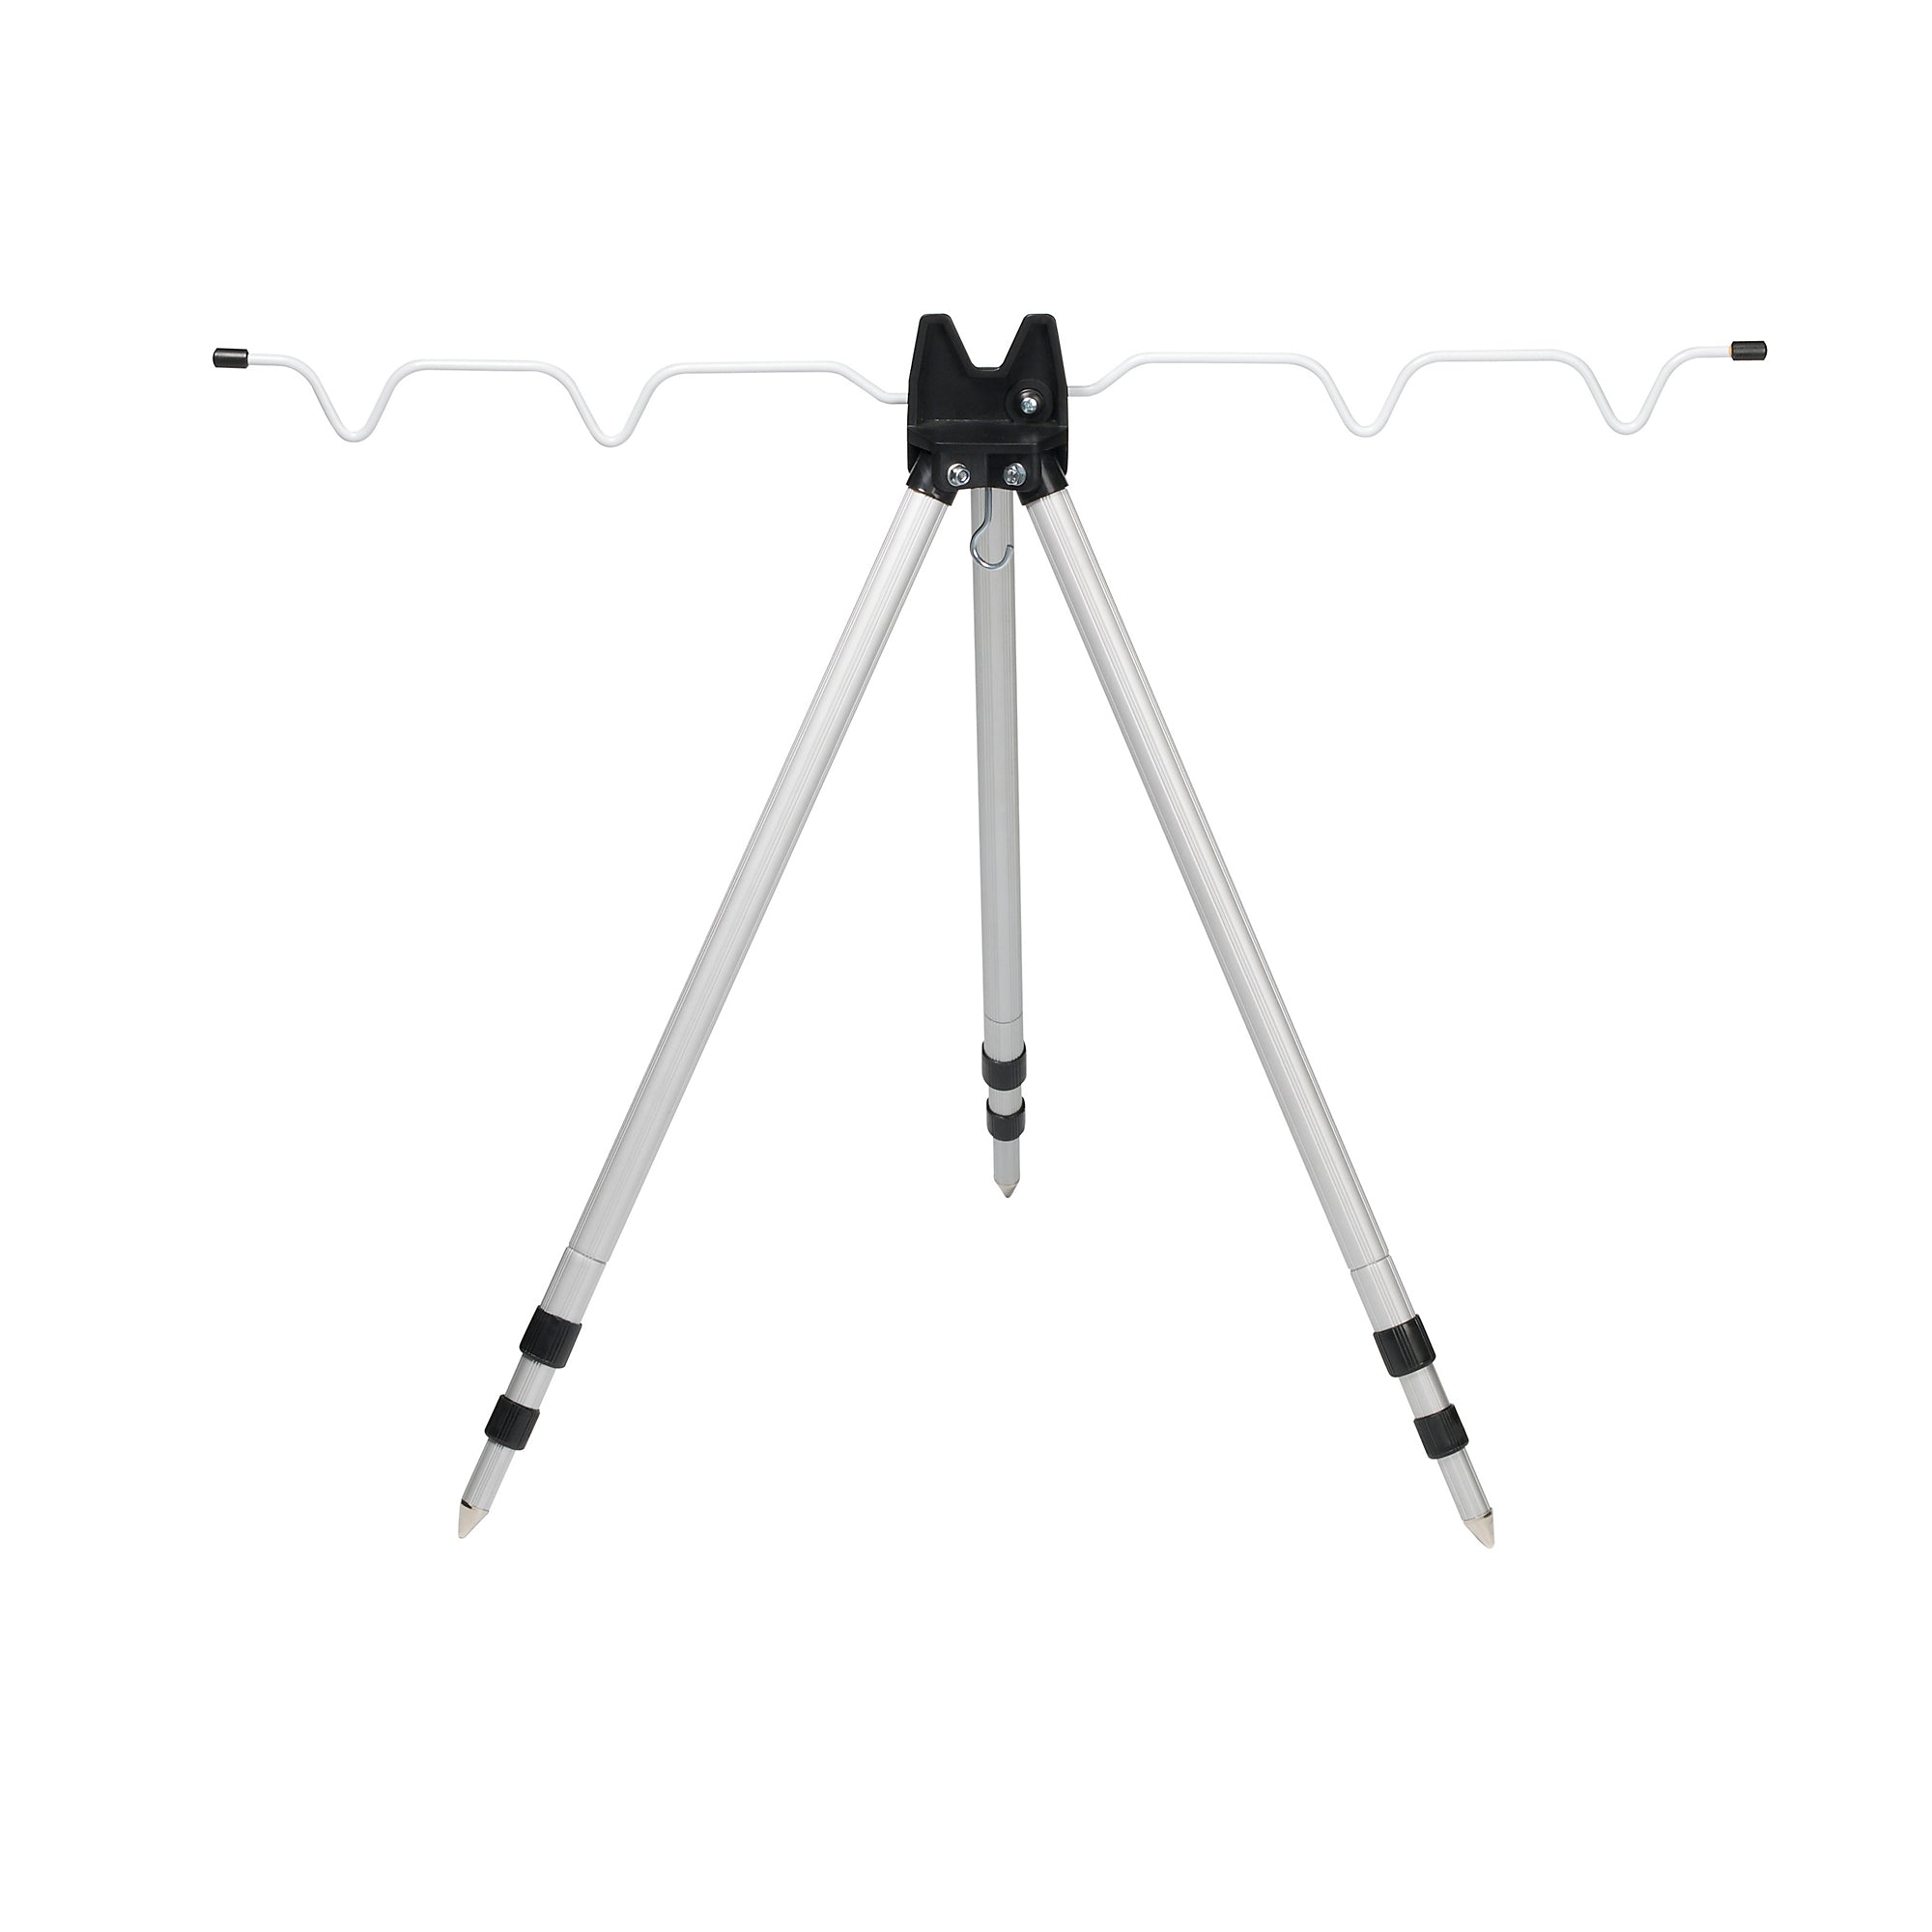
Rod supports keep rods stable, separated and positioned for clear bite indication. Individual rests can be mounted on banksticks, while bars, tripods and pod-style systems organise several rods on a shared frame. The best format depends on bank surface, number of rods, line angle and the amount of adjustment required.
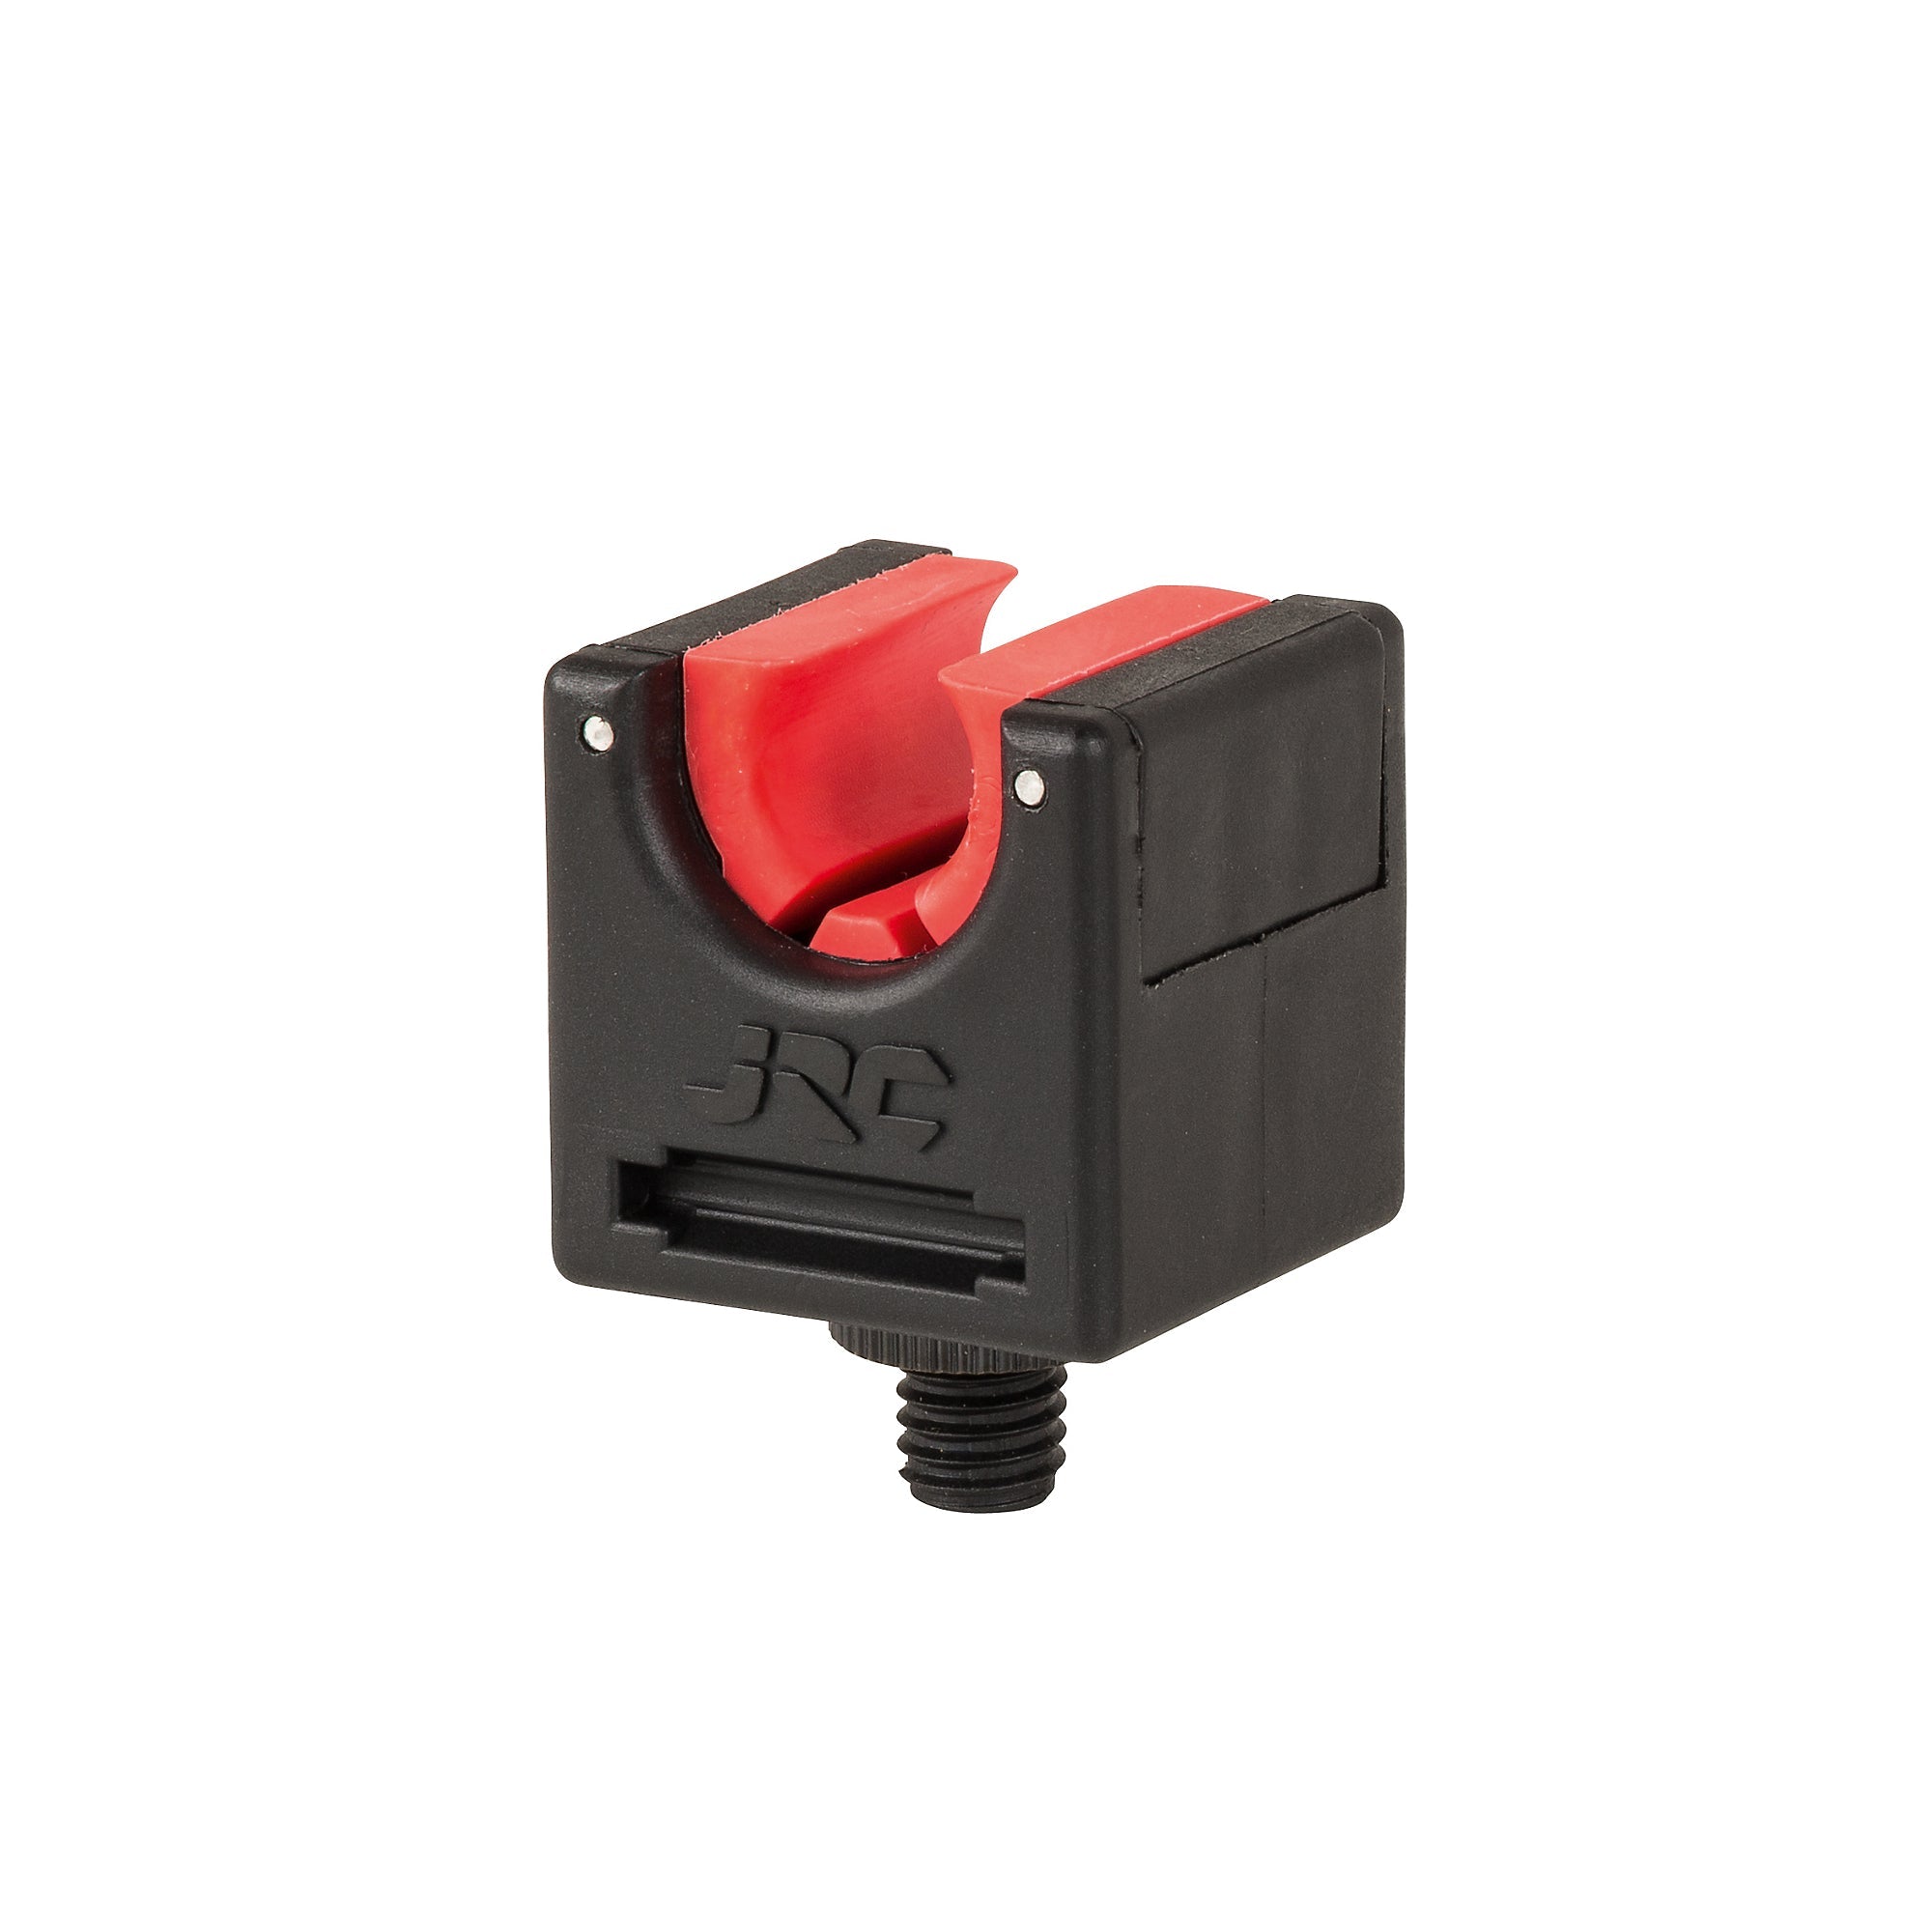
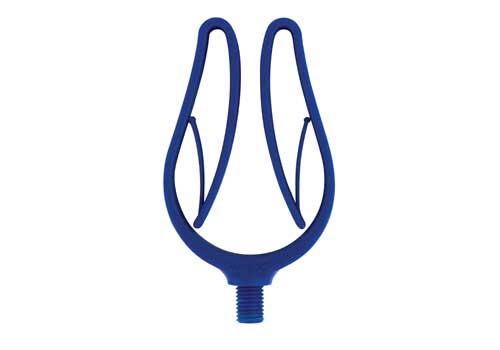
Front rests should hold the blank without damaging it, while rear rests must grip or release the handle as the method requires. Check thread type and diameter before combining components. A part that screws together does not automatically provide a stable or safe connection.
Browse all bank-fishing equipment, compare separate banksticks, add compatible bite alarms and choose visual bobbins. Match the setup to suitable carp rods, with further selection guidance in the carp rod setup guide.
Choose stability, adjustment and capacity
Count made-up rods and measure handle spacing before choosing crossbars or a pod. Adjustments should lock positively without excessive force. Wide supports can improve separation but need enough room on the swim, while compact frames are easier to transport and may suit restricted banks.
Soft ground accepts suitable points or banksticks; hard platforms may require a self-supporting frame. Test the surface before setting up and never force spikes into buried services, protected structures or places prohibited by the fishery. On sloping ground, level the frame and check every leg.
Position rods so a take cannot pull them into the water. Use the reel clutch, baitrunner or drag correctly and remain close enough to respond. Electronic or visual indication does not replace observation.
Recheck the setup at regular intervals.
Set up, inspect and transport supports
Tighten fittings by hand as instructed, keep threads clean and prevent buzz bars or rests rotating under load. Arrange lines, landing gear and the walking route without trip hazards. Recheck stability after rain, wind or a change in water level.
After use, remove mud and salt, dry all parts and inspect threads, locks, legs and padding. Store sharp points covered inside suitable luggage. Replace bent or cracked components rather than relying on overtightening to hold them.